MENU

Category

Poolstore.vn Gò Vấp

  • Hotline 01
  • Hotline 02
  • Poolstore.vn Bình Thạnh

  • Hotline 01
  • Hotline 02
  • Construction and installation quotation

  • Hotline 01
  • Hotline 02
  • Video

    How To Install A Pentair Intellichlor Salt System

    How To Install A Pentair Intellichlor Salt System

    WRITTEN BY:  Inyo Pools

       5 OUT OF 5 STARS ON RATINGS
    (CLICK ON A STAR TO ADD YOUR RATING)

    The Pentair Intellichlor (SCG) automatically sanitizes your in-ground pool by converting the low concentration level of salt in your pool into free chlorine through electrolysis. This guide shows you how to install a Pentair Intellichlor Salt Chlorine Generator (SCG). Note: This guide is intended to give you a visual reference to supplement the Intellichlor owner’s manual, not replace it. Make sure you read and understand your owner’s manual before installing your unit.
    Video


    Step by Step

    Top

    Step 1

    Before installing the chlorinator, make sure the water has been tested and properly balanced according to the parameters listed in the Intellichlor owner’s manual.

    Click here to view test kits. 

    Step 2

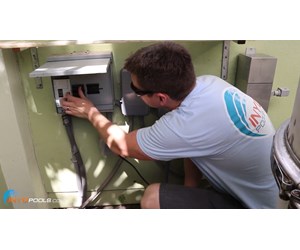
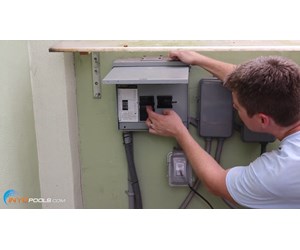
    Turn the power off at the equipment pad.

    Step 3

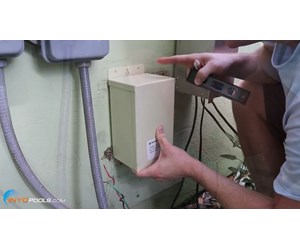
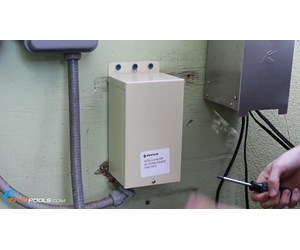
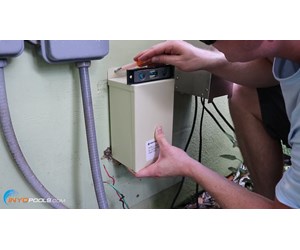
    Locate a spot on the wall where the power supply can be mounted.

    Note: The power supply should be at least 8′ from the edge of the water. Also, the salt cell has a 15′ cable. So the power supply will need to be within 15′ of where the cell will be mounted on the plumbing.
    Step 4

    Make sure the power supply is level and mark the locations for the 6 mounting screws.

    Step 5

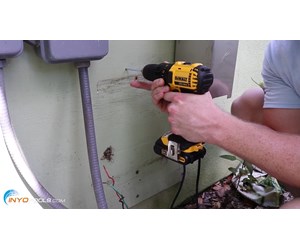
    Drill 6 holes into the marks that were made in the previous step.

    Note: We used a 3/16″ drill bit for 1/4″ screws.

    Click here to view Pentair Intellichlor salt systems. 
    Step 6

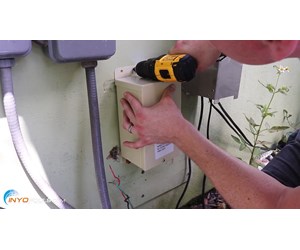
    Install the 6 screws through the mounting holes at the bottom and top of the Intellichlor power supply.

    Step 7

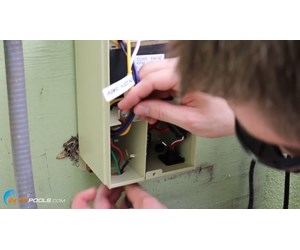
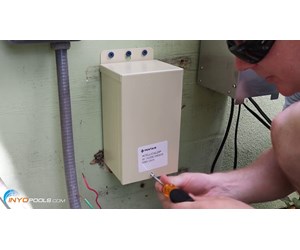
    Once the power supply is mounted, the next steps will involve the electrical wiring. To gain access to the Intellichlor power supply, remove the screw on the front of the cover and remove the cover.

    Step 8

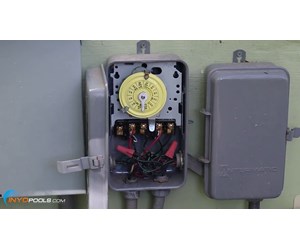
    In this video/guide, we replaced an existing salt system. This made the electrical work easy because the power was already there and it was connected to the pump timer. If you are not replacing an existing salt system, you’ll want to connect the Intellichlor to a timer or an automation system. This way the salt system will only turn on when the pump is running.

    Step 9

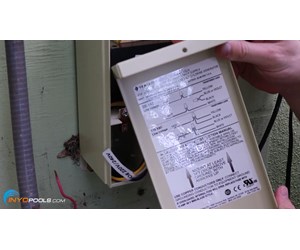
    The power supply can be wired using 115 or 230 volt. It comes from the factory set up for 230v and that is what we used for this installation. There are instructions for 115v located on the inside of the cover panel.

    Note: The following steps are intended for 230v applications.

    Click here to view Pentair Intellichlor salt systems. 
    Step 10

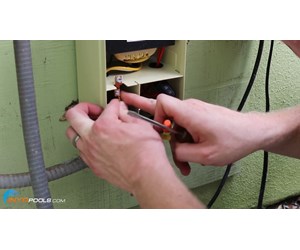
    Remove the black knockout plug from the bottom of the power supply. Pull the three incoming lines through the conduit hole. This will include two hot lines (black & red) and a ground line (green).

    Note: We used 12 gauge wire for this installation.

    Step 11

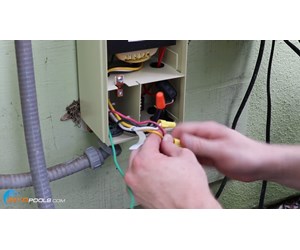
    Using wiring nuts, connect one of the hot lines (red or black) to the white line inside of the power supply. Connect the other hot line (red or black) to the yellow line. 

    Note: It doesn’t matter which hot line goes to the yellow or white line as long as one goes to each.

    Step 12

    Take the green ground line and slip it into the grounding lug. Tighten the screw down so it stays secure.

    Step 13

    Place the cover back on the Intellichlor power supply and tighten the cover screw.

    Click here to view Pentair Intellichlor salt systems. 
    Step 14

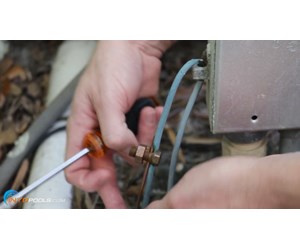
    The next steps involve bonding the new power supply. Connect 8 awg copper wire to the boding lug at the bottom of the power supply.

    Note: For more information regarding bonding, check out our guide titled “How to Add a Line to the Pool Bonding Wire”.

    Step 15

    Connect the opposite end of the copper wire to one of the bonding wires from your other pool equipment. We connected our bonding wire to the bonding wire from the pool pump using a split bolt. If the copper wire has a plastic coating, take a knife and remove some of the coating so that the bare copper wires are making contact.

    Step 16

    The next steps will illustrate how to install the Intellichlor
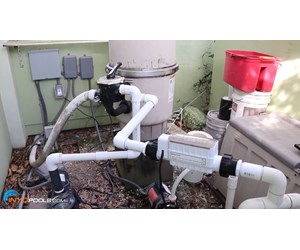
    salt cell on the return line. The cell will need to be installed after (downstream) all the pool equipment (filter, heater, etc.).

    Things to remember: Try to have a minimum of 12″-18″ of straight pipe before the cell. The arrow on the cell should be pointing in the direction of the water flow. Keep the cell within 15′ of the power supply. If the water flow will exceed 80 gpm, install a bypass.

    Step 17

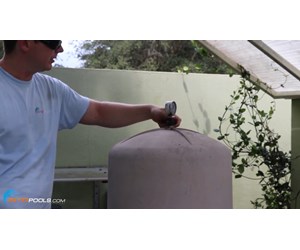
    Before cutting into the pipe, release the pressure from the system. This can be done by opening the air relief valve on the filter (assuming the equipment is above the water level of the pool).

    Click here to view Pentair Intellichlor salt systems. 
    Step 18

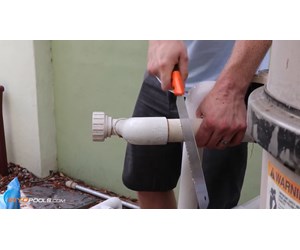
    Remove section of pipe for the salt cell. Measure the total length of the salt cell and flow switch. With that measurement, find the correct spot in the return line (after the equipment) and cut out the properly measured section of pvc pipe. Keep in mind that the section of pipe removed should be approximately 2-1/2″ shorter than the length of the cell. This takes into consideration that some of the pvc plumbing will slip into the cell unions.

    Step 19

    Glue the salt cell unions into the section of return line that was removed above. Slide cell into place and tighten unions. This installation had 1.5″ plumbing so we had to use a reducer on the 2″ unions. All installations will be little different and being a little creative will come in handy.

    Step 20

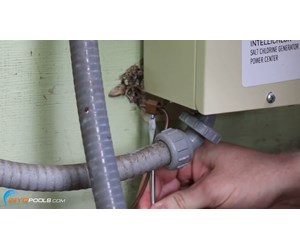
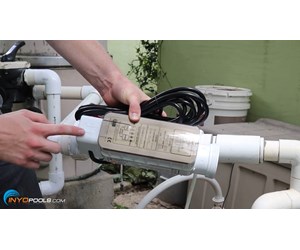
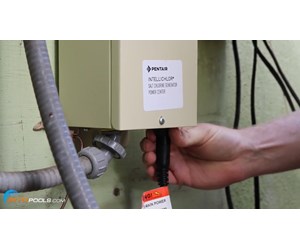
    Once the cell is installed, plug the cell cord into the bottom of the Intellichlor power suppy.

    Step 21

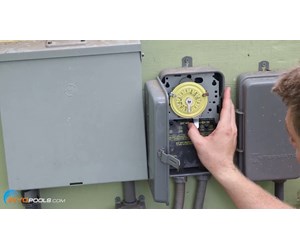
    Turn the power back on. If you have a mechanical timer, it will need to be reset at this time.

    Click here to view timers. 

    Step 22

    Turn the pump on to check the system and verify that the salt system is working correctly.

    Step 23

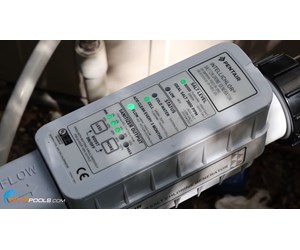
    Since the Pentair Intellichlor takes some time to give accurate readings, let the pump run for about 10 minutes before checking the indicators on the cell.

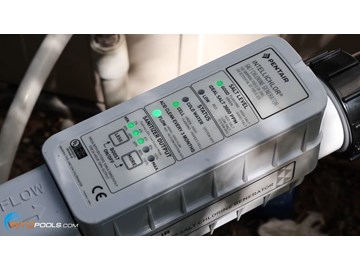
    The picture to the left is of a cell that’s indicating that the salt cell and system are working correctly.

    We recommend setting the sanitizer output level at 60% to start. Test the chlorine level after a couple of days and make adjustments accordingly.

    Related news

    0909 273 179

    0
    Rất thích suy nghĩ của bạn, hãy bình luận.x
    ()
    x